How To Make Your First Blog With Django

How To Make Your First Blog With Django
Django Web Application:
Step To create a Django App:
Step-1: Installing Django
$ python -m pip install Django
import Django:
>>> import django
>>> print(django.get_version())
3.0
Let's create a basic Polls application :
Polls Application will be in two simple steps :
- A public site that allows people to view and vote on polls.
- An admin website for insertion, update, and deletion of polls.
Suppose you've already installed Django, and you want to check the version of Django run the command below...
$ python -m django --version
Step-2: Creating a project :
From the command line, move ( cd ) into a directory where you’d like to store your code, then run the following command:
$ django-admin startproject mysite
Now let us see what startproject will create :
mysite/
    manage.py
    mysite/
        __init__.py
        settings.py
        urls.py
        asgi.py
        wsgi.py
let us verify whether the project is working using this command
$ python manage.py runserver
output on the command line:
Performing system checks...

System check identified no issues (0 silenced).

You have unapplied migrations; your app may not work properly until they are applied.
Run 'python manage.py migrate' to apply them.

December 05, 2019 - 15:50:53
Django version 3.0, using settings 'mysite.settings'
Starting development server at http://127.0.0.1:8000/
Quit the server with CONTROL-C.
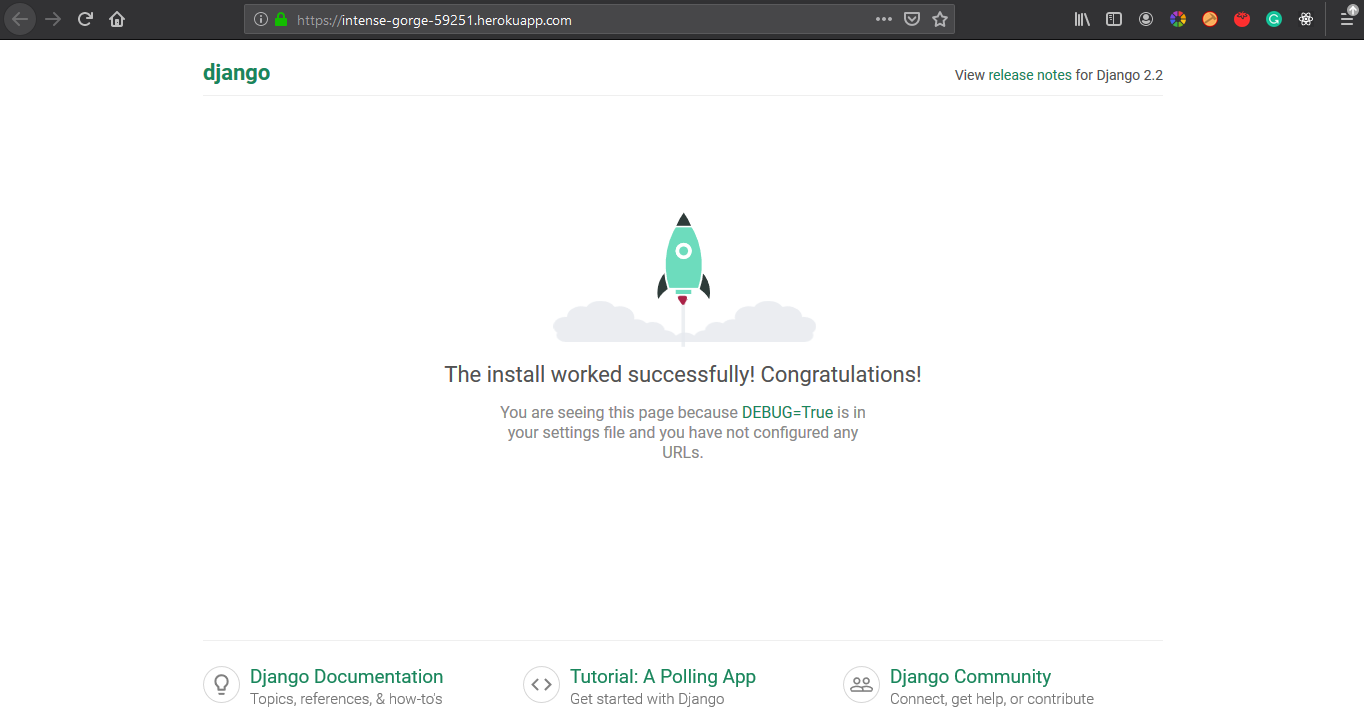
You’ll see a “Congratulations!” page, with a rocket taking off. It worked!
Step-3: Start Creating your Polls App-Part-1
To create your app, make sure you’re in the same directory as manage.py and type this command:
$ python manage.py startapp polls
Now, directory polls, will look like this,
polls/
    __init__.py
    admin.py
    apps.py
    migrations/
        __init__.py
    models.py
    tests.py
    views.py
Writing the first View :
Open the file polls/views.py and put the following Python code in it:
polls/view.py
from django.http import HttpResponse

def index(request):
    return HttpResponse("Polls App Here.")
To call the view, we need to map it to a URL - and for this we need a URLconf.
polls/urls.py the file includes the following code:
from . import views

urlpatterns = [
    path('', views.index, name='index'),
]
* Point the root URLconf at the polls.urls module.
* First, create urls.py file in mysite project directory, and include the code written bellow
from django.contrib import admin
from django.urls import include, path

urlpatterns = [
    path('polls/', include('polls.urls')),
    path('admin/', admin.site.urls),
]
Step-4: Creating Models: Polls App Part-2
Now let us set up the database and, create your first model,
* open the mysite/settings.py. --- It’s a normal Python module with module-level variables representing Django settings.
* By default, the configuration uses SQLite.
$ python manage.py migrate
* The migrate command looks at the Installed_APPS setting and creates any necessary database tables according to the database settings in your file and the database migrations shipped with the application.
Creating Models :
In our poll app, we’ll create two models: Question and Choice. A Question has a question and a publication date. A Choice has two fields: the text of the choice and a vote tally. Each Choice is associated with a Question.
Edit the polls/models.py file
from django.db import models
class Question(models.Model):
question_text = models.CharField(max_length=200)
pub_date = models.DateTimeField('date published')
class Choice(models.Model):
question = models.ForeignKey(Question, on_delete=models.CASCADE)
choice_text = models.CharField(max_length=200)
votes = models.IntegerField(default=0)
But first, we need to tell our project that the polls app is installed.
mysite/settings.py
INSTALLED_APPS = [
    'polls.apps.PollsConfig',
    'django.contrib.admin',
    'django.contrib.auth',
    'django.contrib.contenttypes',
    'django.contrib.sessions',
    'django.contrib.messages',
    'django.contrib.staticfiles',
]
Now Django knows to include the polls app. Let’s run another command:
$ python manage.py makemigrations polls
Output On-Command line:
Migrations for 'polls':
  polls/migrations/0001_initial.py:
    - Create model Choice
    - Create model Question
    - Add field question to choice
* By running makemigrations, you’re telling Django that you’ve made some changes to your models
*Now, run migrate again to create those model tables in your database:
$ python manage.py migrate
Output on Command line:
Apply all migrations: admin, auth, contenttypes, polls, sessions
Running migrations:
  Rendering model states... DONE
  Applying polls.0001_initial... OK
- Run python manage.py makemigrations to create migrations for those changes
- Run python manage.py migrate to apply those changes to the database.
Django Admin
Creating an admin user:
First, we’ll need to create a user who can login to the admin site. Run the following command:
$ python manage.py createsuperuser
Enter your desired username and press enter.
Username: admin
You will then be prompted for your desired email address:
Email address: admin@example.com
The final step is to enter your password. You will be asked to enter your password twice, the second time as a confirmation of the first.
Password: **********
Password (again): *********
Superuser created successfully.
Start the development server
The Django admin site is activated by default. Let’s start the development server and explore it.
If the server is not running start it like so:
$ python manage.py runserver
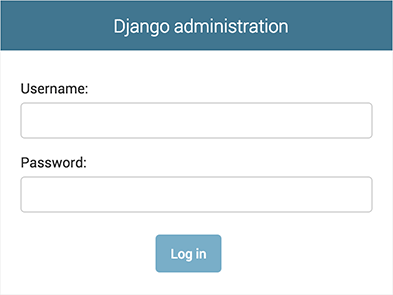
Now, open a Web browser and go to “/admin/” on your local domain – e.g., http://127.0.0.1:8000/admin/. You should see the admin’s login screen:
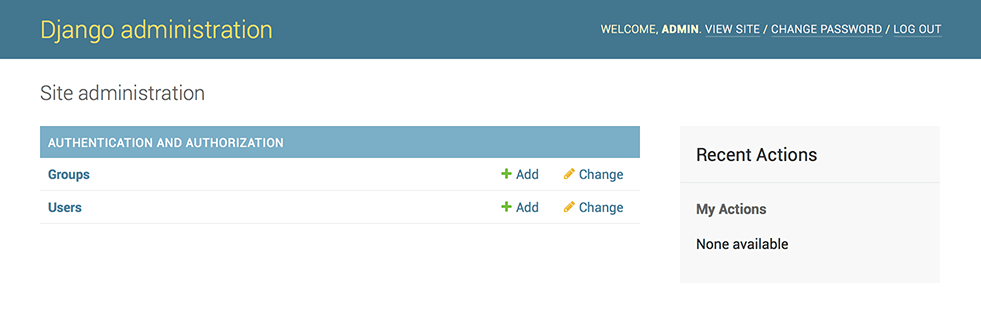
Django admin index page:
Make the poll app modifiable in the admin
polls/admin.py
from django.contrib import admin
from .models import Question

admin.site.register(Question)
Step-5: Creating Views- Django app, part 3
Add views to polls/views.py
def detail(request, question_id):
    return HttpResponse("You're looking at question %s." % question_id)

def results(request, question_id):
    response = "You're looking at the results of question %s."
    return HttpResponse(response % question_id)

def vote(request, question_id):
    return HttpResponse("You're voting on question %s." % question_id)
include this in polls. urls
/polls/urls.py
from django.urls import path
from. import views
URL patterns = [
path('', views.index, name='index'),
path('<int:question_id>/', views.detail, name='detail'),
path('<int:question_id>/results/', views.results, name='results'),
path('<int:question_id>/vote/', views.vote, name='vote'),
]
* Create a directory called templates in your directory.
* Within the templates the directory you have just created, create another directory called polls, and within that create a file called index.html. In other words, your template should be at polls/templates/polls/index.html. Because of how the app_directories template loader works .
*Put the following code in that template:
polls/templates/polls/index.html
{% if latest_question_list %}
    <ul>
    {% for question in latest_question_list %}
        <li><a href="/polls/{{ question.id }}/">{{ question.question_text }}</a></li>
    {% endfor %}
    </ul>
{% else %}
    <p>No polls are available.</p>
{% endif %}
index view in polls/views.py to use the template:
from django.http import HttpResponse
from django.template import loader
from .models import Question
def index(request):
latest_question_list = Question.objects.order_by('-pub_date')[:5]
template = loader.get_template('polls/index.html')
context = {
'latest_question_list': latest_question_list,
}
return HttpResponse(template.render(context, request))
polls/detail.html
<h1>{{ question.question_text }}</h1>
<ul>
{% for choice in question.choice_set.all %}
    <li>{{ choice.choice_text }}</li>
{% endfor %}
</ul>
Now change your polls/index.html template from:
polls/templates/polls/index.html
<li><a href="{% url 'detail' question.id %}">{{ question.question_text }}</a></li>
Update-polls/templates/polls/detail.html
<h1>{{ question.question_text }}</h1>
{% if error_message %}<p><strong>{{ error_message }}</strong></p>{% endif %}
<form action="{% url 'polls:vote' question.id %}" method="post">
{% csrf_token %}
{% for choice in question.choice_set.all %}
<input type="radio" name="choice" id="choice{{ forloop.counter }}" value="{{ choice.id }}">
<label for="choice{{ forloop.counter }}">{{ choice.choice_text }}</label><br>
{% endfor %}
<input type="submit" value="Vote">
</form>
we created a URLconf for the polls application that includes this line:
polls/urls.py
path('<int:question_id>/vote/', views.vote, name='vote'),
update the following to polls/views.py:
polls/views.py
from django.http import HttpResponse, HttpResponseRedirect
from django.shortcuts import get_object_or_404, render
from django.urls import reverse

from .models import Choice, Question

def vote(request, question_id):
    question = get_object_or_404(Question, pk=question_id)
    try:
        selected_choice = question.choice_set.get(pk=request.POST['choice'])
    except (KeyError, Choice.DoesNotExist):

        return render(request, 'polls/detail.html', {
            'question': question,
            'error_message': "You didn't select a choice.",
        })
    else:
        selected_choice.votes += 1
        selected_choice.save()

        return HttpResponseRedirect(reverse('polls:results', args=(question.id,)))
'/polls/3/results/' (enter in browser to see the final page)
After somebody votes in a question, the vote() view redirects to the results page for the question. Let’s write that view:
polls/views.py
from django.shortcuts import get_object_or_404, render


def results(request, question_id):
    question = get_object_or_404(Question, pk=question_id)
    return render(request, 'polls/results.html', {'question': question})
create a polls/results.html template:
<h1>{{ question.question_text }}</h1>
<ul>
{% for choice in question.choice_set.all %}
<li>{{ choice.choice_text }} -- {{ choice.votes }} vote{{ choice.votes|pluralize }}</li>
{% endfor %}
</ul>
<a href="{% url 'polls:detail' question.id %}">Vote again?</a>
* go to /polls/1/ in your browser and vote in the question to get the final result of your Polls Application.
By this, we have completed step by step creation of web application.
