PostgreSQL with your Django Application on Ubuntu
Django is a powerful web framework that can help you get your Python application or website off the ground. Django includes a simplified development server for testing your code locally, but for anything even slightly production related, a more secure and powerful web server is required.
Prerequisites and Goals
- We will be installing Django within a virtual environment.
- Installing Django into an environment specific to your project will allow your projects and their requirements to be handled separately.
Install the Packages from the Ubuntu Repositories
- To begin the process, we’ll download and install all of the items we need from the Ubuntu repositories.
- We will use the Python package manager pip to install additional components a bit later.
- We need to update the local apt package index and then download and install the packages.
- The packages we install depend on which version of Python your project will use.
If you are using Django with Python 3, type:
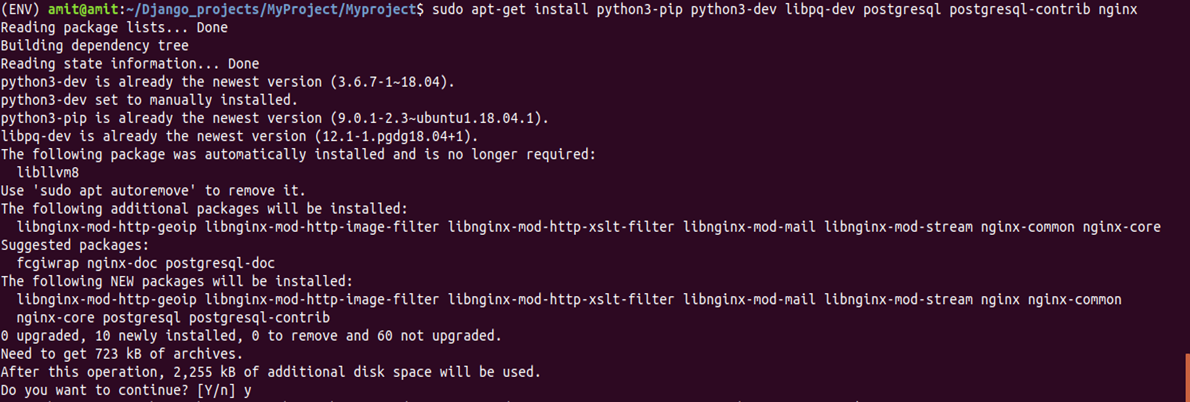
$ sudo apt-get update
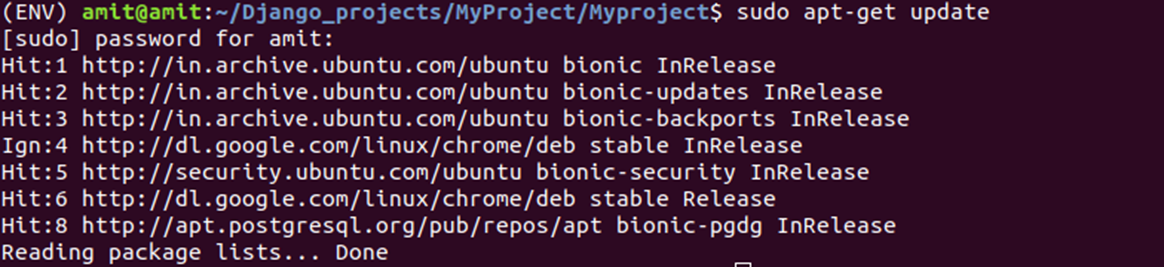
$ sudo apt-get install python3-pip python3-dev libpq-dev postgresql postgresql-contrib nginx
This will install pip, the Python development files needed to build Gunicorn later, the Postgres database system and the libraries needed to interact with it, and the Nginx web server.
Create the PostgreSQL Database and User
We’re going to jump right in and create a database and database user for our Django application.
- By default, Postgres uses an authentication scheme called “peer authentication” for local connections.
- Basically, this means that if the user’s operating system username matches a valid Postgres username, that user can login with no further authentication.
- During the Postgres installation, an operating system user named postgres was created to correspond to the postgres PostgreSQL administrative user.
- We need to use this user to perform administrative tasks. We can use sudo and pass in the username with the -u option.
Log into an interactive Postgres session by typing:
$ sudo -u postgres psql

You will be given a PostgreSQL prompt where we can set up our requirements.
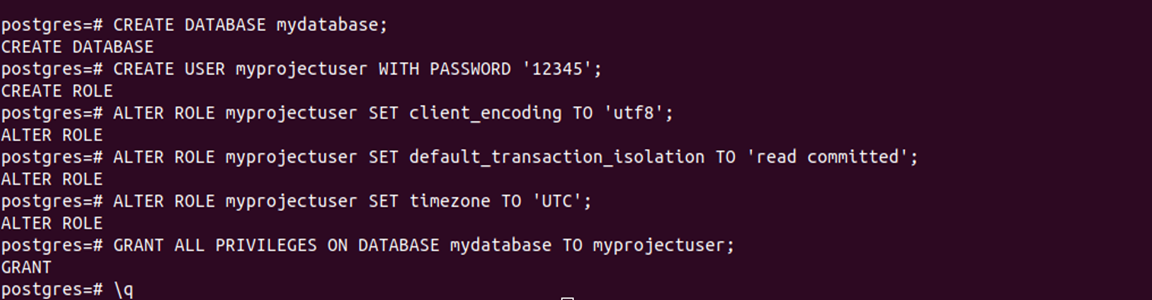
First, create a database for your project:
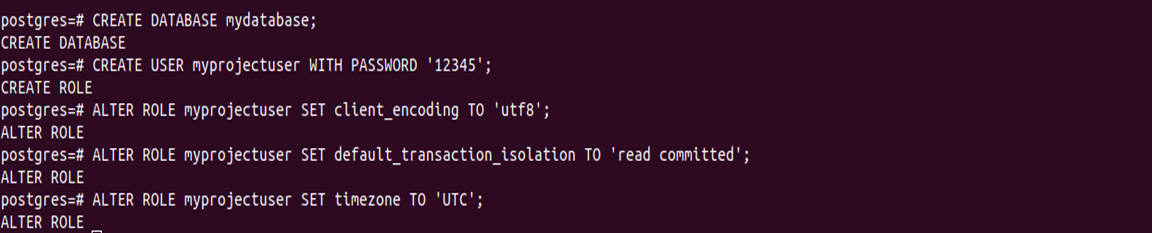
postgres=# CREATE DATABASE mydatabase;

Note:
Every Postgres statement must end with a semi-colon, so make sure that your command ends with one if you are experiencing issues.
Create a database user for our project
Make sure to select a secure password:
postgres=# CREATE USER myprojectuser WITH PASSWORD ‘12345';

Afterwards, we’ll modify a few of the connection parameters for the user we just created. This will speed up database operations so that the correct values do not have to be queried and set each time a connection is established.
We are setting the default encoding to UTF-8, which Django expects.We are also setting the default transaction isolation scheme to “read committed”, which blocks reads from uncommitted transactions. Lastly, we are setting the timezone. By default, our Django projects will be set to use UTC. These are all recommendations from the Django project itself:
postgres=# ALTER ROLE myprojectuser SET client_encoding TO 'utf8';

postgres=# ALTER ROLE myprojectuser SET default_transaction_isolation TO 'read committed';

postgres=# ALTER ROLE myprojectuser SET timezone TO 'UTC';
Now, we can give our new user access to administer our new database:
postgres=# GRANT ALL PRIVILEGES ON DATABASE mydatabase TO myprojectuser;

When you are finished, exit out of the PostgreSQL prompt by typing:
postgres=# \q
Create a Python Virtual Environment for your Project
- Now that we have our database, we can begin getting the rest of our project requirements ready. We will be installing our Python requirements within a virtual environment for easier management.
- To do this, we first need access to the virtualenv command. We can install this with pip.
If you are using Python 3, upgrade pip and install the package by typing:
$ sudo -H pip3 install --upgrade pip
$ sudo -H pip3 install virtualenv
Within the project directory, create a Python virtual environment by typing:
$ virtualenv ENV
This will create a directory called ENV within your Myproject directory. Inside, it will install a local version of Python and a local version of pip. We can use this to install and configure an isolated Python environment for our project.

Before we install our project’s Python requirements, we need to activate the virtual environment. You can do that by typing:
$ source ENV/bin/activate

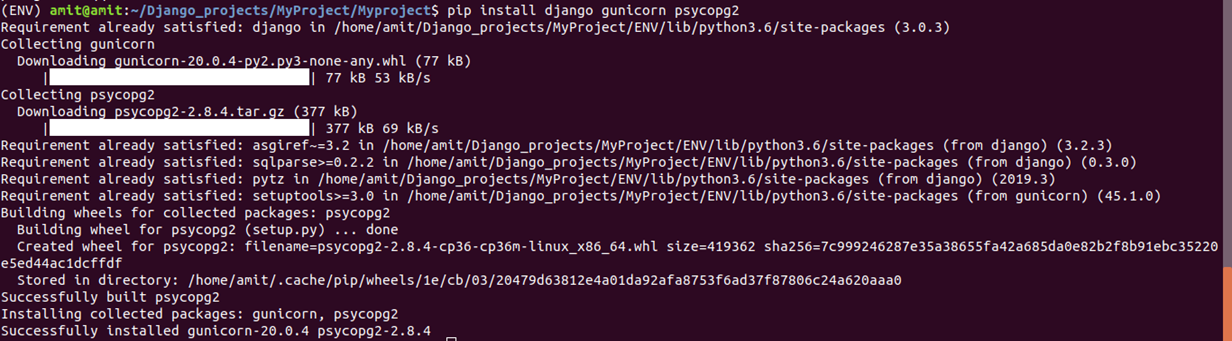
With your virtual environment active, install Django, Gunicorn, and the psycopg2 PostgreSQL adaptor with the local instance of pip:
$ pip install django gunicorn psycopg2
Create and Configure a New Django Project
With our Python components installed, we can create the actual Django project files..
Create the Django Project
Since we already have a project directory, we will tell Django to install the files here. It will create a second level directory with the actual code, which is normal, and place a management script in this directory.
$ django-admin.py startproject Myproject

At this point, your project directory (~/Myproject in our case) should have the following content:
~/Myproject/manage.py: A Django project management script.
~/Myproject/: The Django project package. This should contain the __init__.py, settings.py, urls.py, and wsgi.py files.
~/Myproject/ENV/: The virtual environment directory we created earlier.
Adjust the Project Settings
The first thing we should do with our newly created project files is adjust the settings.
$ nano ~/Myproject/settings.py
Start by locating the ALLOWED_HOSTS directive. This defines a list of the server’s addresses or domain names may be used to connect to the Django instance. Any incoming requests with a Host header that is not in this list will raise an exception. Django requires that you set this to prevent a certain class of security vulnerability.
- In the square brackets, list the IP addresses or domain names that are associated with your Django server.
- Each item should be listed in quotations with entries separated by a comma.
- If you wish requests for an entire domain and any subdomains, prepend a period to the beginning of the entry. In the snippet below, there are a few commented out examples used to demonstrate:
Myproject/settings.py
|
# The simplest case: just add the domain name(s) and IP addresses of your Django server # ALLOWED_HOSTS = [ 'example.com', '203.0.113.5’] # To respond to 'example.com' and any subdomains, start the domain with a dot # ALLOWED_HOSTS = ['.example.com', '203.0.113.5']ALLOWED_HOSTS = ['your_server_domain_or_IP', 'second_domain_or_IP', . . .] |
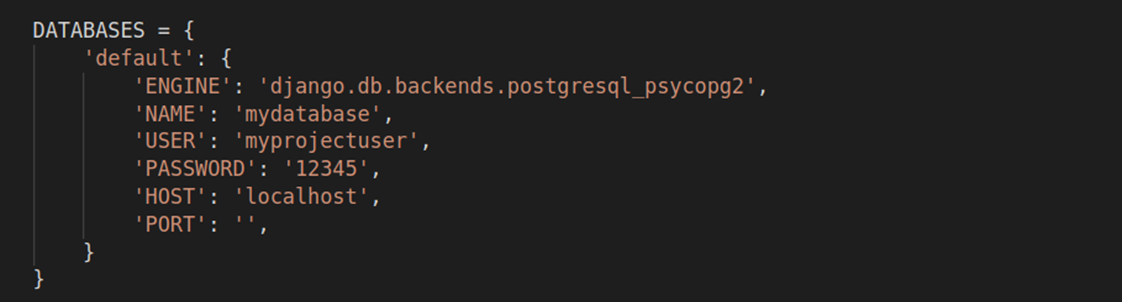
Next, find the section that configures database access. It will start with DATABASES. The configuration in the file is for a SQLite database. We already created a PostgreSQL database for our project, so we need to adjust the settings.
Change the settings with your PostgreSQL database information. We tell Django to use the psycopg2 adaptor we installed with pip. We need to give the database name, the database username, the database user’s password, and then specify that the database is located on the local computer. You can leave the PORT setting as an empty string:
Myproject/settings.py
|
DATABASES = { 'default’: { 'ENGINE': 'django.db.backends.postgresql_psycopg2’, 'NAME': 'mydatabase', 'USER': 'myprojectuser’, 'PASSWORD': '12345', 'HOST': 'localhost’, 'PORT': ‘’, } } |
Next, move down to the bottom of the file and add a setting indicating where the static files should be placed.This is necessary so that Nginx can handle requests for these items. The following line tells Django to place them in a directory called static in the base project directory:
Myproject/settings.py
|
STATIC_URL = '/static/’ STATIC_ROOT = os.path.join(BASE_DIR, 'static/') |

Save and close the file when you are finished
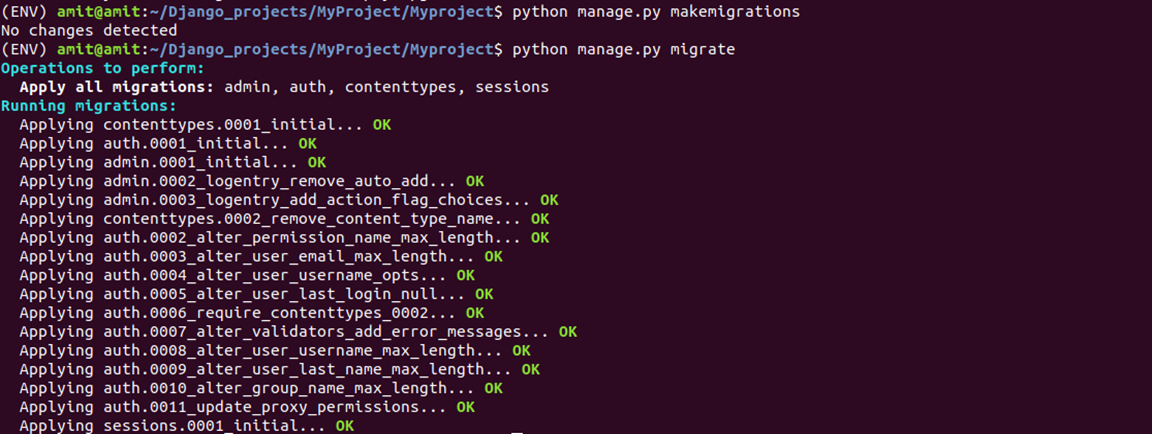
~/myproject/python manage.py makemigrations
~/myproject/python manage.py migrate
Create an administrative user for the project by typing:
~/myproject/python manage.py createsuperuser

You will have to select a username, provide an email address, and choose and confirm a password.
We can collect all of the static content into the directory location we configured by typing:
~/myproject/python manage.py collectstatic

You will have to confirm the operation. The static files will then be placed in a directory called static within your project directory. If you followed the initial server setup guide, you should have a UFW firewall protecting your server. In order to test the development server, we’ll have to allow access to the port we’ll be using.
Create an exception for port 8000 by typing:

Finally, you can test our your project by starting up the Django development server with this command:
$ python manage.py runserver 8000

If you append /admin to the end of the URL in the address bar, you will be prompted for the administrative username and password you created with the createsuperuser command:
- After authenticating, you can access the default Django admin interface:
- When you are finished exploring, hit CTRL-C in the terminal window to shut down the development server.
