Simple steps to create Django project in Ubuntu
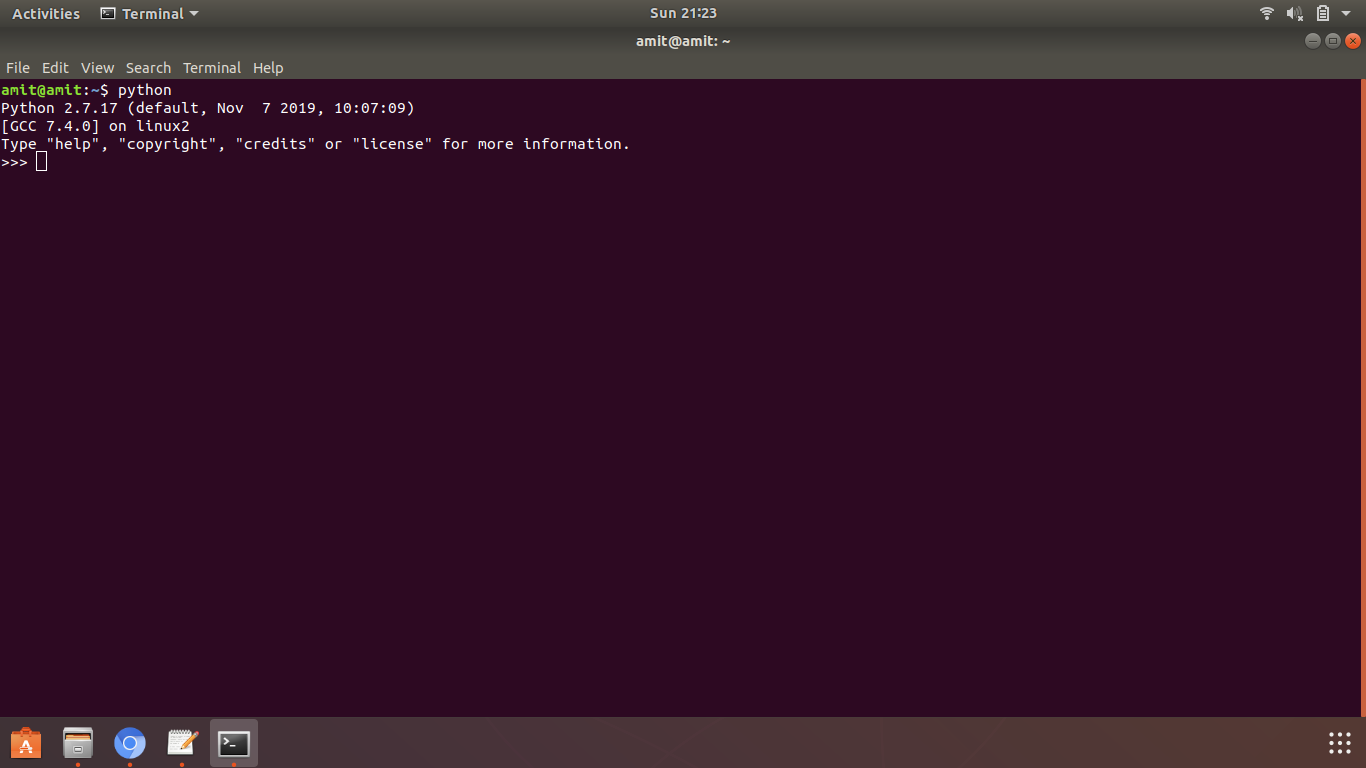
The main requirement to create Django project is to have python installed in system, for that open terminal and type 'python', version will be displayed as shown in the picture.
If not then follow the steps:
1)Open 'https://www.python.org/downloads/' link in your browser to download.
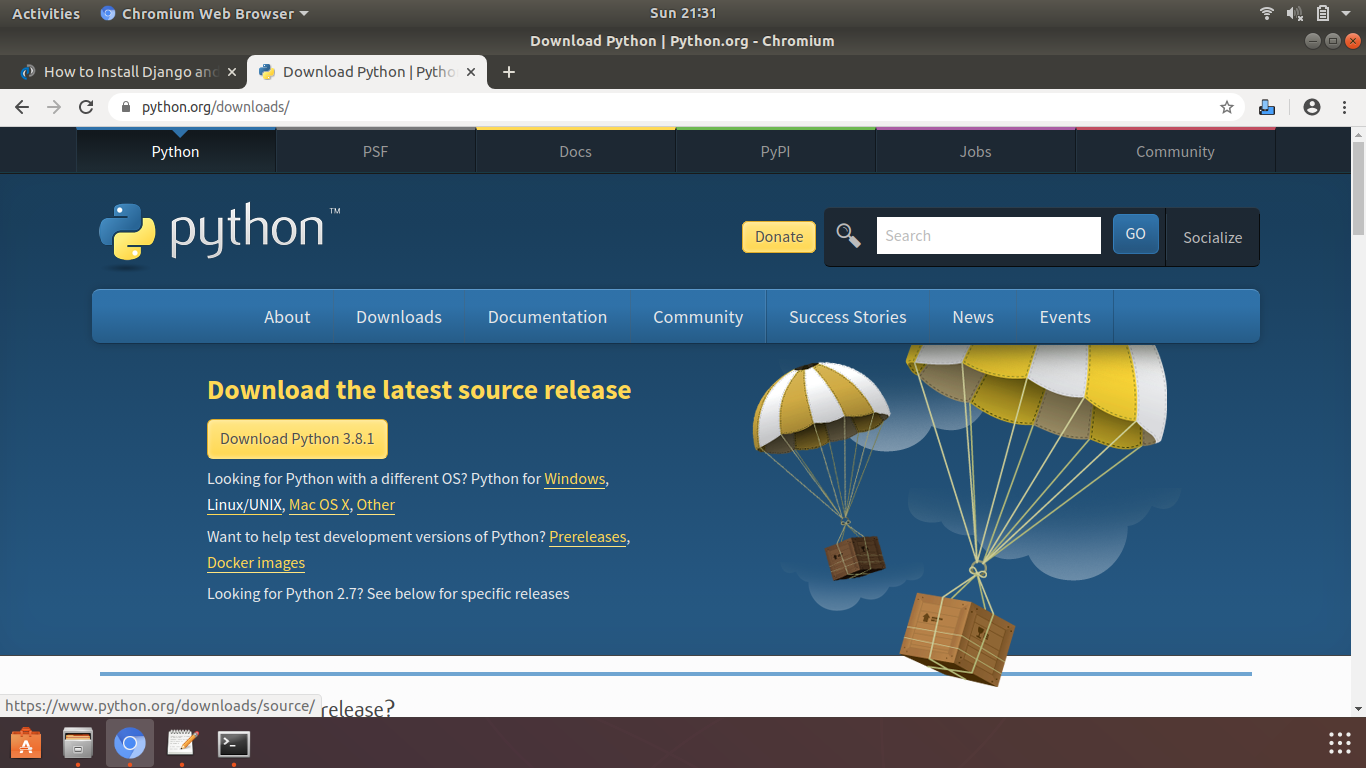
2)Select operating system 'Linux/UNIX' to start download.
3)When installing Python don’t forget to tick the option “Add Python to your path” when the installation prompt opens.
These are the Simple steps to create project of django in Ubantu:
Step 1: Create project Folder.
1)Create project folder in drive of system.
2)Right click on the folder and click on 'Open in Terminal'.
Step 2: Installing Virtualenv
Virtualenv is a Python package. The main function is to separate your project environment with the rest of the system so that whatever you add inside this virtual environment does not affect the rest of your system.
1)To create virtual environment for the project use following command:
$ virtualenv <Environment Name>

2)After creating virtual environment, activate it. To activate use following command:
$ source <Environment Name>/bin/activate

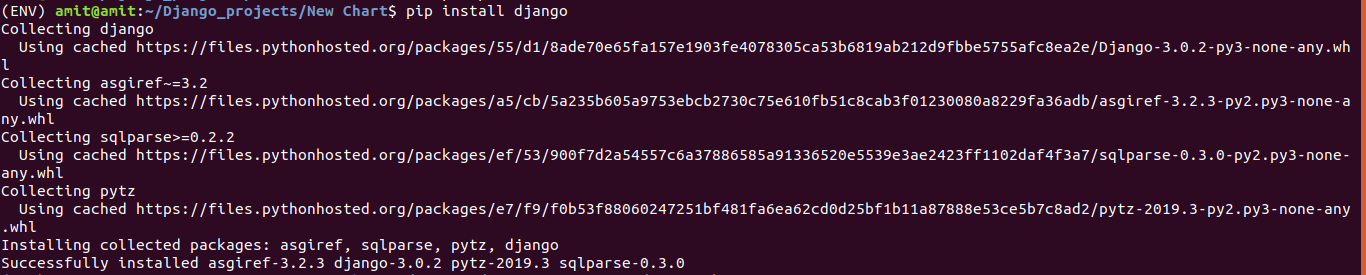
Step 3: Installing Django
$ pip install django
This command will install django in the system.
Step 4: Create Project
1)following is the command for creating django project:
$ django-admin startproject <Project Name>

2)$ code .
Use this command to open that project in Visual Studio Code (Code Editor).

Step 5: Creating database
1)To Open that project folder type following command
$ cd <Project Name>

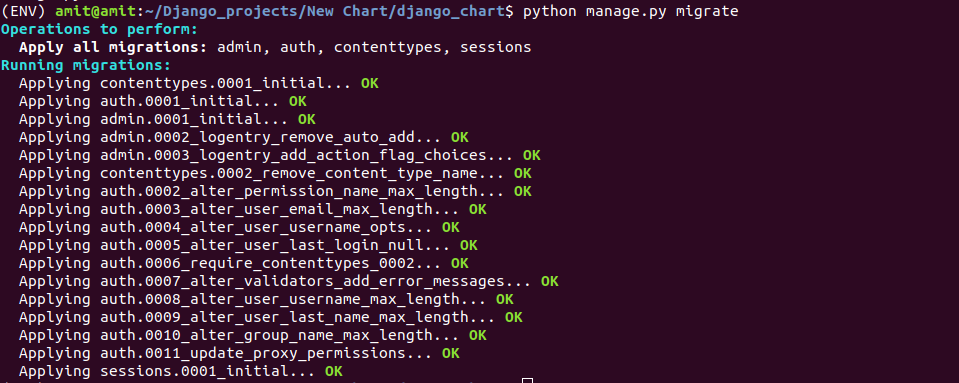
2)To create database tables use following command
$ python manage.py migrate
3)Run Python server
$ python manage.py runserver

4)To access your Admin Interface, You should have superuser. To create superuser following command is used:
$ python manage.py createsuperuser

your admin interface is accessible at: http://127.0.0.1:8000/admin/
when you create superuser account, you will see the following screen −
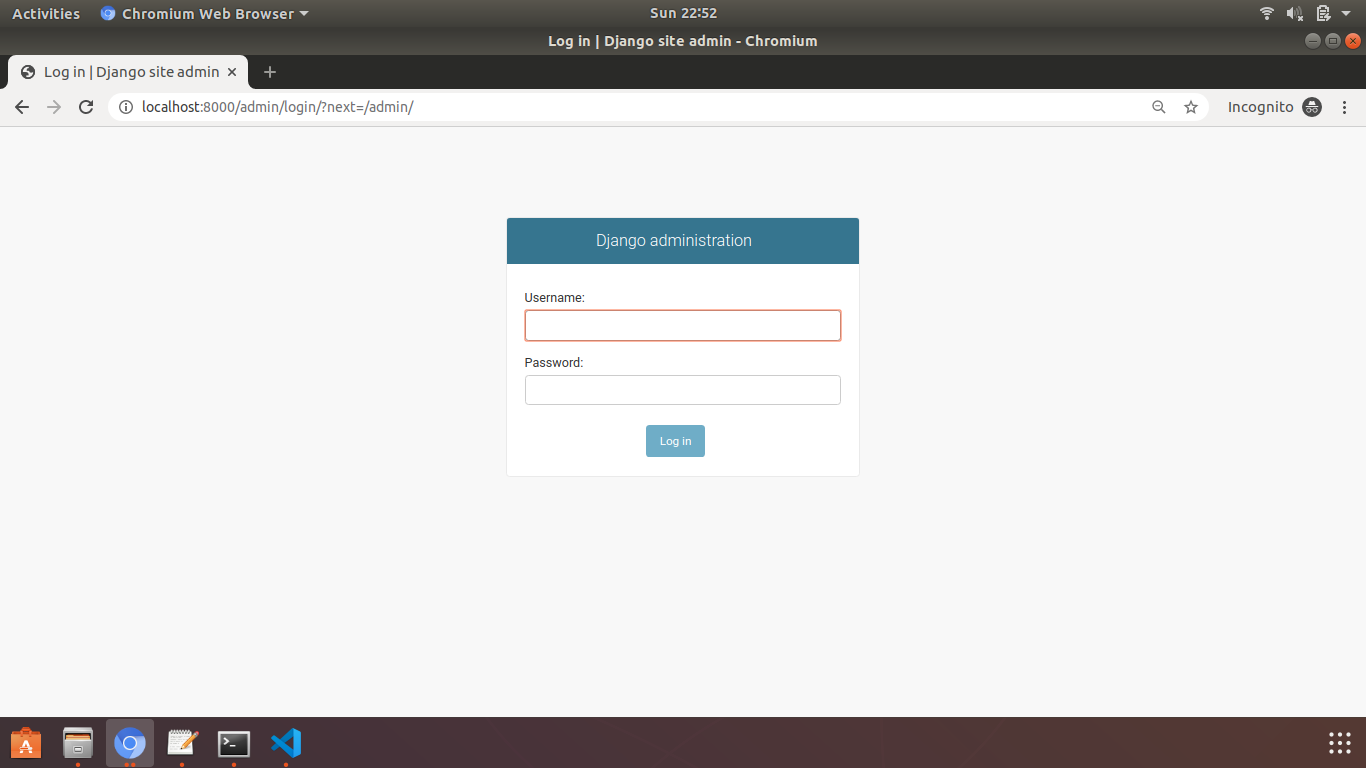
Once connected with your superuser account, you will see the following screen –

Step 6: Create Application
1)Using following command we can create application:
$ django-admin startapp <Application Name>

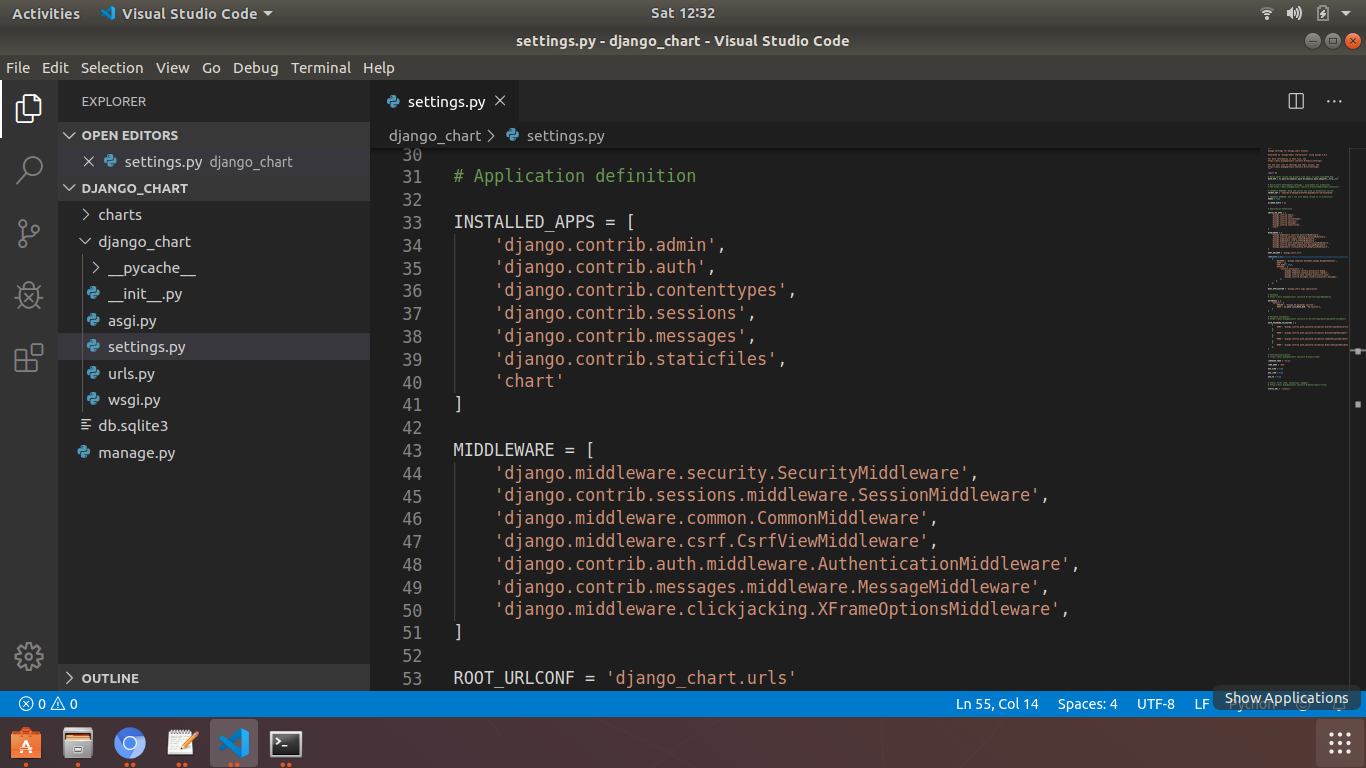
2)When we create django application, its compulsory to add that application name in 'INSTALLED_APPS' section in setting.py file which is present in our project folder.
Step 7: Running the Test Server
Let’s verify your Django project works, use following command:
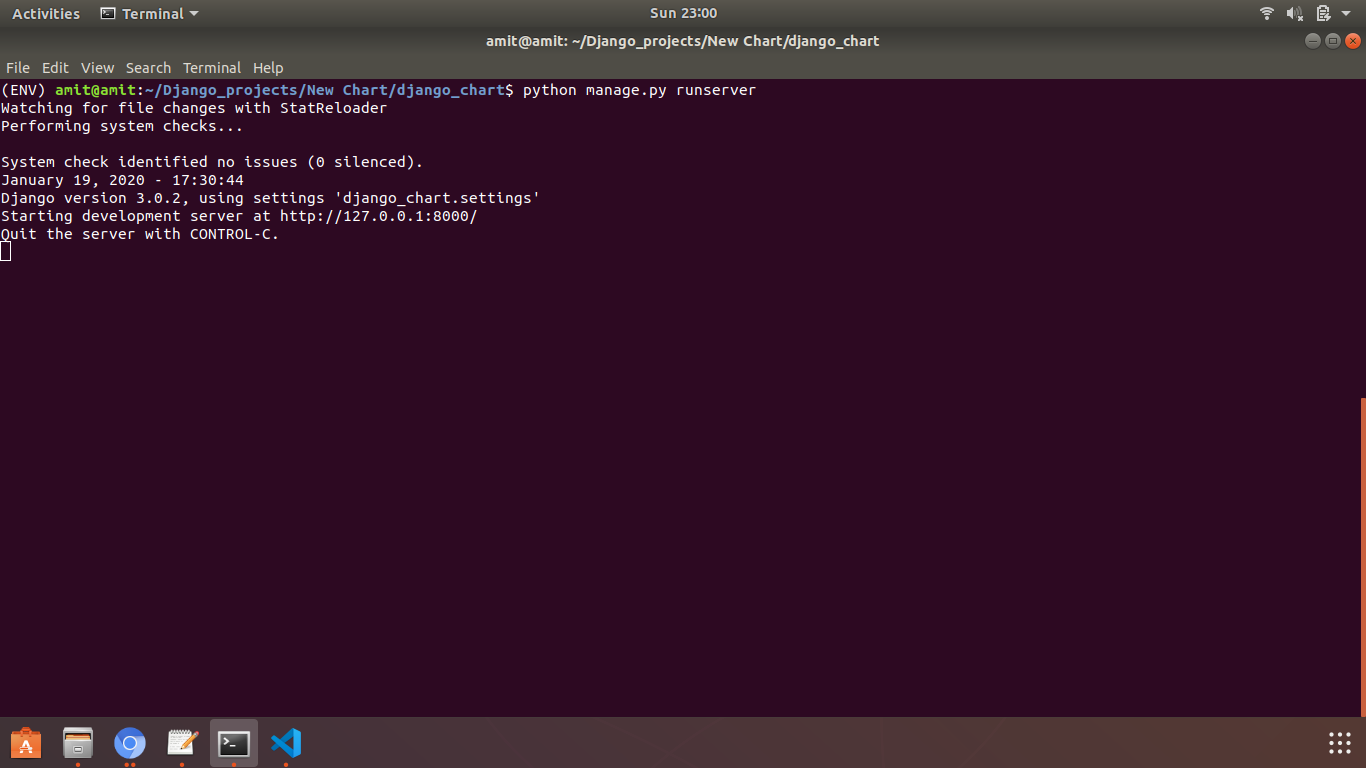
$ python manage.py runserver
You will see the following output on the terminal:
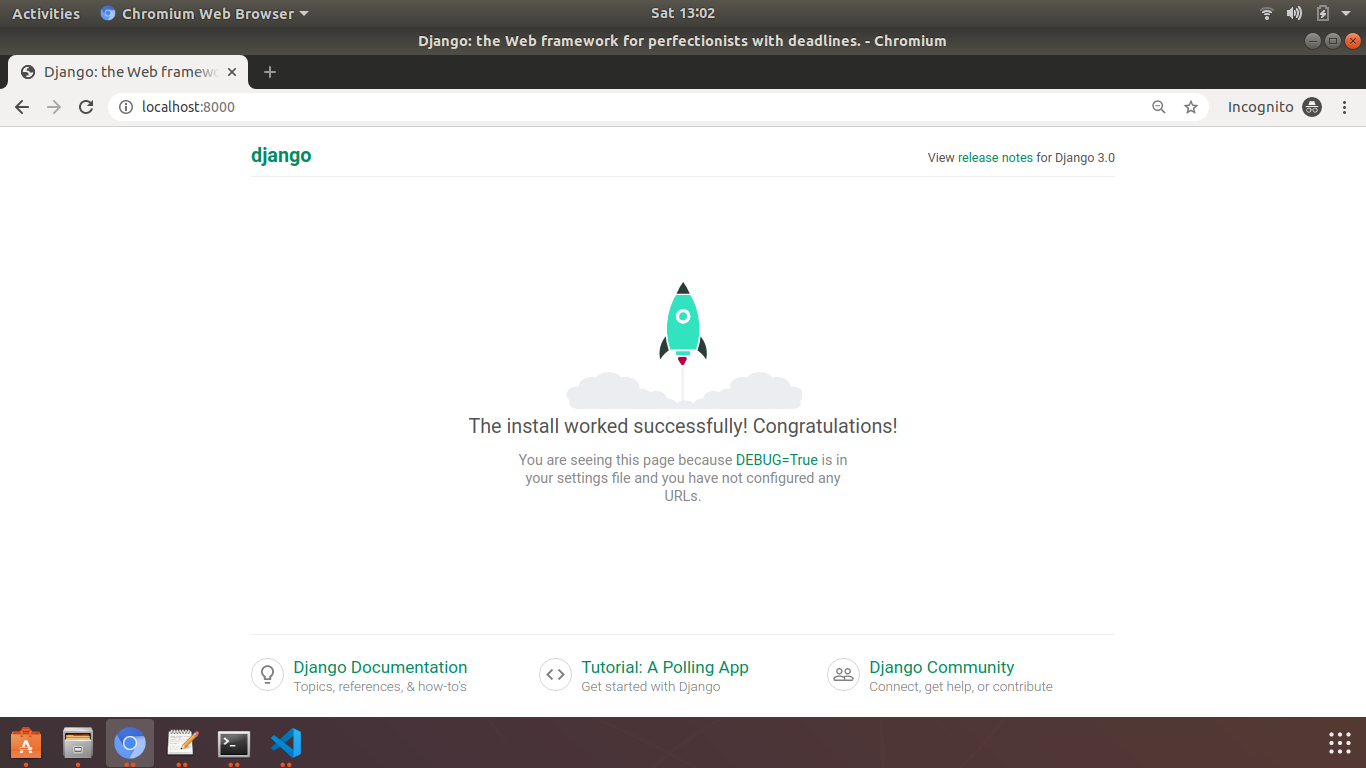
Now that the server’s running, visit http://127.0.0.1:8000/ with your Web browser. You’ll see a “Congratulations!” page, with a rocket taking off. It worked!